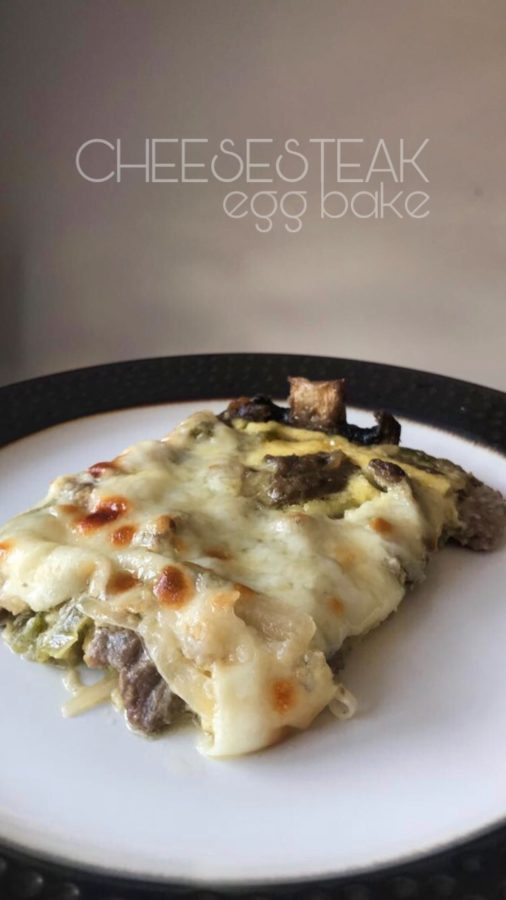
Cheese-Steak Egg Bake
This egg bake… is amazing!
This reminds me of my favorite Philly steak pizza from a popular chain!
📍 Pin HERE for Later!
Ingredients:
- 1 pound sirloin steak, thinly sliced**
- 1 c. onion, thinly sliced
- 1 c. green peppers, thinly sliced
- 1 heaping c. mushrooms, sliced
- 1 jalapeno, diced
- 6 slices provolone cheese
- 2 oz. cream-cheese
- 1/4 c. grated parmesan
- 1/4 c. shredded parmesan
- 1/3 c. heavy cream
- 2 eggs
- 1 tbsp. butter
- 2 tsp. worcestershire sauce
- 1 tsp. minced garlic
- Salt & pepper
Directions:
- Preheat oven to 350 degrees F
- Mix together eggs, heavy cream and parmesan cheeses, set aside
- Toss steak in worcestershire sauce and add to a frying pan with butter on medium heat for about 2 minutes then add onions, mushrooms and both peppers
- Once veggies are soft and cooked down, add in garlic and saute for about 2 more minutes
- Drain any extra liquid from the pan and melt in cream cheese
- Pour steak and veggies mixture into a well greased baking dish, pouring the egg mixture over top
- Top with cheese slices and bake for about 20 minutes, or until set and bubbling
**Pro-tip: Please steak in the freezer for about 20 minutes prior to cutting. This will firm up the steak and assist in cutting thin even slices!
Try these other great low carb recipes: