
Breakfast Taco Casserole Recipe
After having an AMAZING Mexican Omelette at a diner recently, I needed to find a way to recreate those flavors at home. Using left over taco meat and a few items I had on hand, I think I nailed the taste and textures SPOT ON. My family loved this easy to whip up combination of taco meat, hash browns and eggs!
📌 Pin HERE for later!
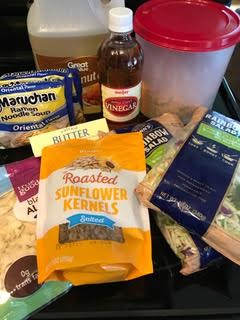
Ingredients:
- Leftover Taco Meat
- Shredded Hashbrowns
- Salsa – any brand or heat level
- 1 Green Pepper
- 1/4 of a large Sweet Onion
- 12 Eggs
- 8 oz Shredded Cheddar Cheese
- 1/4 Cup Milk
- Butter
Directions:
Grease a 7 x 11 or similar casserole dish and preheat your oven to 350 Degrees.
Clean and chop 1 green pepper and about 1/4 of a large sweet onion.
Fry your hashbrowns with just a bit of butter (about ten minutes) Do not worry about getting them browned, you just want to soften them. Once done, press them in the bottom of your casserole dish.
Throw your leftover taco meat with the onion and green pepper in the frying pan and fry for about five minutes. Just enough to heat up the meat and soften up your onions and green peppers. Now spread this in your casserole dish over your hashbrowns.
Spread a layer of salsa (add as much as you like!) over the hamburger mixture
In a mixing bowl beat eggs, milk, & a pinch of salt and pepper to taste. Once beaten well, pour over your layers in the casserole dish. I took a fork and poked it down around the casserole and pulled the edges away a bit so the egg soaked down. (Do not worry if your salsa is floating up a bit, it probably will)
Bake for 30 to 40 minutes or until the egg is set and firm in the middle, then remove put shredded cheese over the top, and let sit for 10 minutes.
Enjoy with some more salsa on top and a big dollop of sour cream! YUMMY!


 Ingredients:
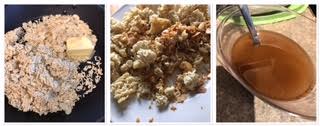
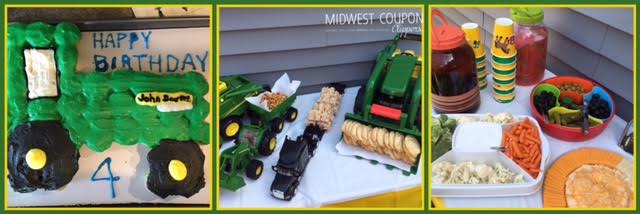


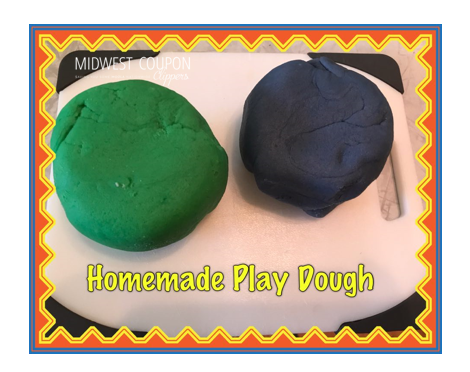
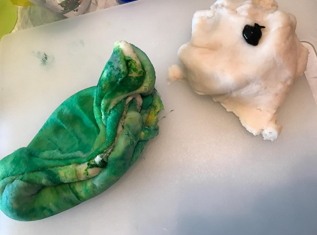
 It was a fun project to keep small hands occupied and easily included him in the party prep!

