Candy Corn Krispies
It’s that time of year again … where days start to get shorter, nights get cooler, the leaves start to change… do you know what that means? Not only does it mean Fall is here… it also means BAKING SEASON is here. That has to be my most favorite season of all! Every year I bake dozens of cookies and batches of brownies… I thought it was about time for something a little more creative!
What You’ll Need:
- 11″ x 13″ Pan
- Parchment Paper
- Pam
Ingredients:
- 6 cups Rice Krispies Cereal
- 6 cups Mini Marshmallows
- 5 tbps. Butter
- Orange Food Coloring
- Dark Chocolate Candy Coating Wafers
- White Chocolate Candy Coating Wafers
Instructions:
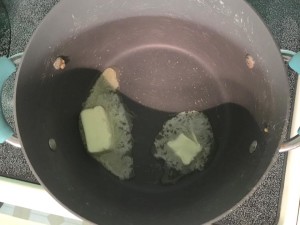
- Start with melting the 5 tbsp. of butter in a large pot over medium heat. Keep stirring! Just keep stirring, Just keep stirring… Now I sound like Dory from Nemo don’t I?
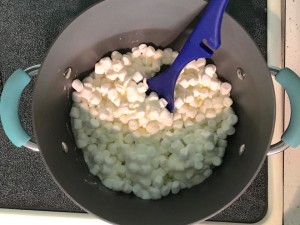
- Once the butter is melted, add the marshmallows.
- Keep stirring until the marshmallows are melty. That’s a word right?!?
- Once they are completely melted… add some food coloring. (I did not have orange food coloring on hand, so I compromised. I used some red & yellow to make orange)
- Now it is time to add the cereal. Gently fold in the cereal, making sure all gets coated with the melted marshmallow mixture. (Gentle, Gentle, GENTLE! We do not want any snap, crackling, and popping!)
- HERE is where you will need a 11″ x 13″ pan, some parchment paper and Pam. IF you do not have parchment paper, a cut open gallon bag will do the trick just as good. Spray your pan with a nice coating of Pam and pour your cereal/marshmallow in.
- Lay your parchment paper (or Ziploc bag) over the top and press down the mixture into a nice even sheet & let cool! Once cooled, it is time to cut the rice krispies into “Candy Corn Shapes.”
- I emptied my pan of rice krispies onto a cutting board.. I found it much easier to cut but you can cut in the pan if you prefer.
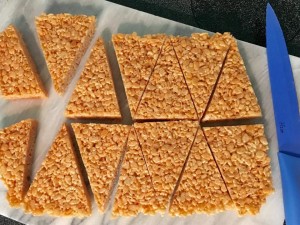
- Start off by cutting your Krispies in half – lengthwise. Or as my Elementary school teacher Ms. Buckingham would say, cut them “Hot Dog” style!
- Once they are cut in half you want to start your next cut from the top left corner and cut down diagonally.
- For your next cut, start at the bottom left corner and cut up diagonally. Keep doing this until you cut the sheet into triangles. There will be a few skew shapes, just eat those, It’s o.k, I said you can!
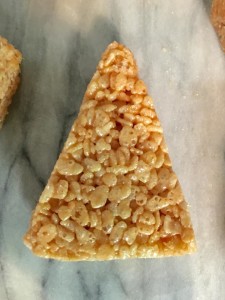
- Once you have all the “Candy Corn” shapes cut… shape the shapes… I KNOW that sounds odd but touch-up the edges. Make the tips a little more rounded instead of pointy and fix any rouge rice krispies sticking out. Now that our shapes are rounded out, do you know what time it is? CHOCOLATE TIME!
- Empty your Candy Coating Chocolate Wafers into microwave safe dishes and melt according to the package.
- I found that dipping the tips of the shapes first was easiest because there was more treat to hold on to when it was time to dip the wide bottoms. So take a “Candy Corn” and dip the tip into the white chocolate… or the dark…which ever you want, then the bottom in the opposite chocolate.
- Once dipped, place on a parchment lined cookie sheet to harden.
Ta-Da! Candy Corn Krispies!
Pin It: https://www.pinterest.com/pin/420101471469884738/
All Photos are Property of Midwest Coupon Clippers







Leave a Reply